

My name is Kaitlyn Dorr, I’m from Maine, and am currently a senior at Bennington College in Vermont. As part of the Bennington educational program, we have what is called a Field Work Term. For roughly six weeks during the months of January and February, each student has to find a job, internship, or apprenticeship, in their desired subject of study.
I have been working with various media forms in the visual arts for as far back as I can remember, and have always wanted to explore woodworking. I grew up teaching myself/playing around with tools and wood, attempting to make things like bookcases and tables, but have never had the opportunity to have any formal instruction.
When I graduate this upcoming Spring, my plan is to move back to Maine for the summer in order to go to one of the many woodworking craftsmanship schools that can be found there. In preparing for this, and in hopes to figure out if woodworking is a direction that I would enjoy going in, I searched for apprenticeships for my Field Work Term. I have always wanted to travel to New Orleans, and this winter seemed like an idyllic opportunity. I began searching online, and found the Gautschi Holz Work
s apprenticeship blog. Heinz is one of the few woodworkers I came across who allows people to have an apprenticeship opportunity with minimal prior experience. I have access to both the tools and materials I need, as well as having the ability to work with an extremely educated mentor.
s apprenticeship blog. Heinz is one of the few woodworkers I came across who allows people to have an apprenticeship opportunity with minimal prior experience. I have access to both the tools and materials I need, as well as having the ability to work with an extremely educated mentor.
FIRST PROJECT

In order to become familiar with using hand tools (such as saws and chisels), Heinz had me begin by using a cut-off of a piece of mahogany to make a bowl.


 I had never carved wood before, so in order to understand the shapes that I would be carving into the mahogany I first made a clay sculpture of my design. I then did a rough sketch of the design on my piece of wood, and cut the shape out with a bow saw.
To secure the piece, we used what is called paper gluing. Glue is thinned to a milky consistency; newspaper is placed between the cut-off and a scrap piece of wood, and the whole thing is clamped over night until the glue dries. The piece can then be clamped on the scrap wood to begin carving.
I carved around the outline of the bowl, and then began working on the hand. I carved the palm, and then moved to the thumb and pinky on the sides.


After carving the rough shape of the outsides of the hand/piece, I moved to the front to carve out the other fingers.


 When I had done as much detail as possible with the bowl facing up, I turned the bowl over and anchored it with screws to another board. As the bowl is carved out, the holes from the screws will disappear.
I carved the bottom of the piece/ the hand, detailing the bottom of the fingers and the knuckles.


To carve out the bowl, it was turned back over. In order to secure it, as clamping did not hold it well, the wrist of the hand was friction glued to another piece of wood, and then the hand was clamped with the scrap wood.


While carving the inside of the bowl, in not being patient or careful enough, I accidentally
made two holes in the sides of my bowl because I had carved too thin.
made two holes in the sides of my bowl because I had carved too thin.


Originally, the plan was to carve the holes out, and then make inserts of a contrasting wood type to be placed within the carved spaces. Realizing that it would not be as effective, I instead carved the entire bowl off, except for the base, so a new bowl could be made and placed there.

Taking the bowl off allowed me to clean up the inside of the hand and fingers.

To replace the bowl, the only available material that was two inches in height was a piece of walnut. I cut a piece out the size of the previous bowl, and then carved the outside, leaving a tall base that could be glued to a scrap piece later (then cut off) in order to carve out the inside of the bowl.

In order to get underneath the rim of the bowl, as well as clean the outside, the bowl was screwed upside down to a two inch piece of wood, then to another scrap board.The outside of the bowl was cleaned as smooth as possible in order to make the sanding process easier.


The bowl was then flipped and glued so that the inside could be carved out.

The original gluing was unable to take the pressure from the chisel when I tried to hollow out the bowl, and it split off of the board at the bottom. In order to keep carving, the only thing that could bind together the board and the bowl was epoxy.

When the epoxy fully dried, I carved the middle of the bowl first so it would be consistently the lowest surface as I carved the walls of the bowl.

The inside of the bowl was smoothed with a chisel until it could be sanded


After sanding:

In order to attach the bowl to the hand, the bases of each were flattened. Two nails were put into the base of the hand, cut off to size, and sharpened. The bowl was then pressed onto the nails to make holes. The nails give the piece stability and keep the bowl in place (so the bowl won't rock/move) when gluing. The bases were scraped with a toothed planer so the glue will join the pieces together better.


To keep the piece together as it dries, scrap wood was placed on the rim of the bowl for the clamp to attach to.

The piece was cut off the scrap board at the arm:


For the finish, a few layers of wipe-on polyurethane were applied to the whole thing:


SECOND PROJECT
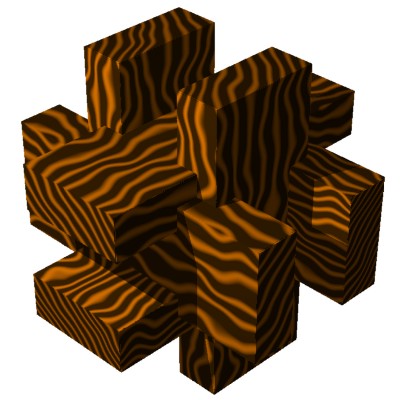
To practice sawing and carving joints, I made a knot burr puzzle.

We cut and planed four different kinds of wood: cherry, beech, walnut, and soft maple, in order for there to be a contrast in colors when the piece was solved.
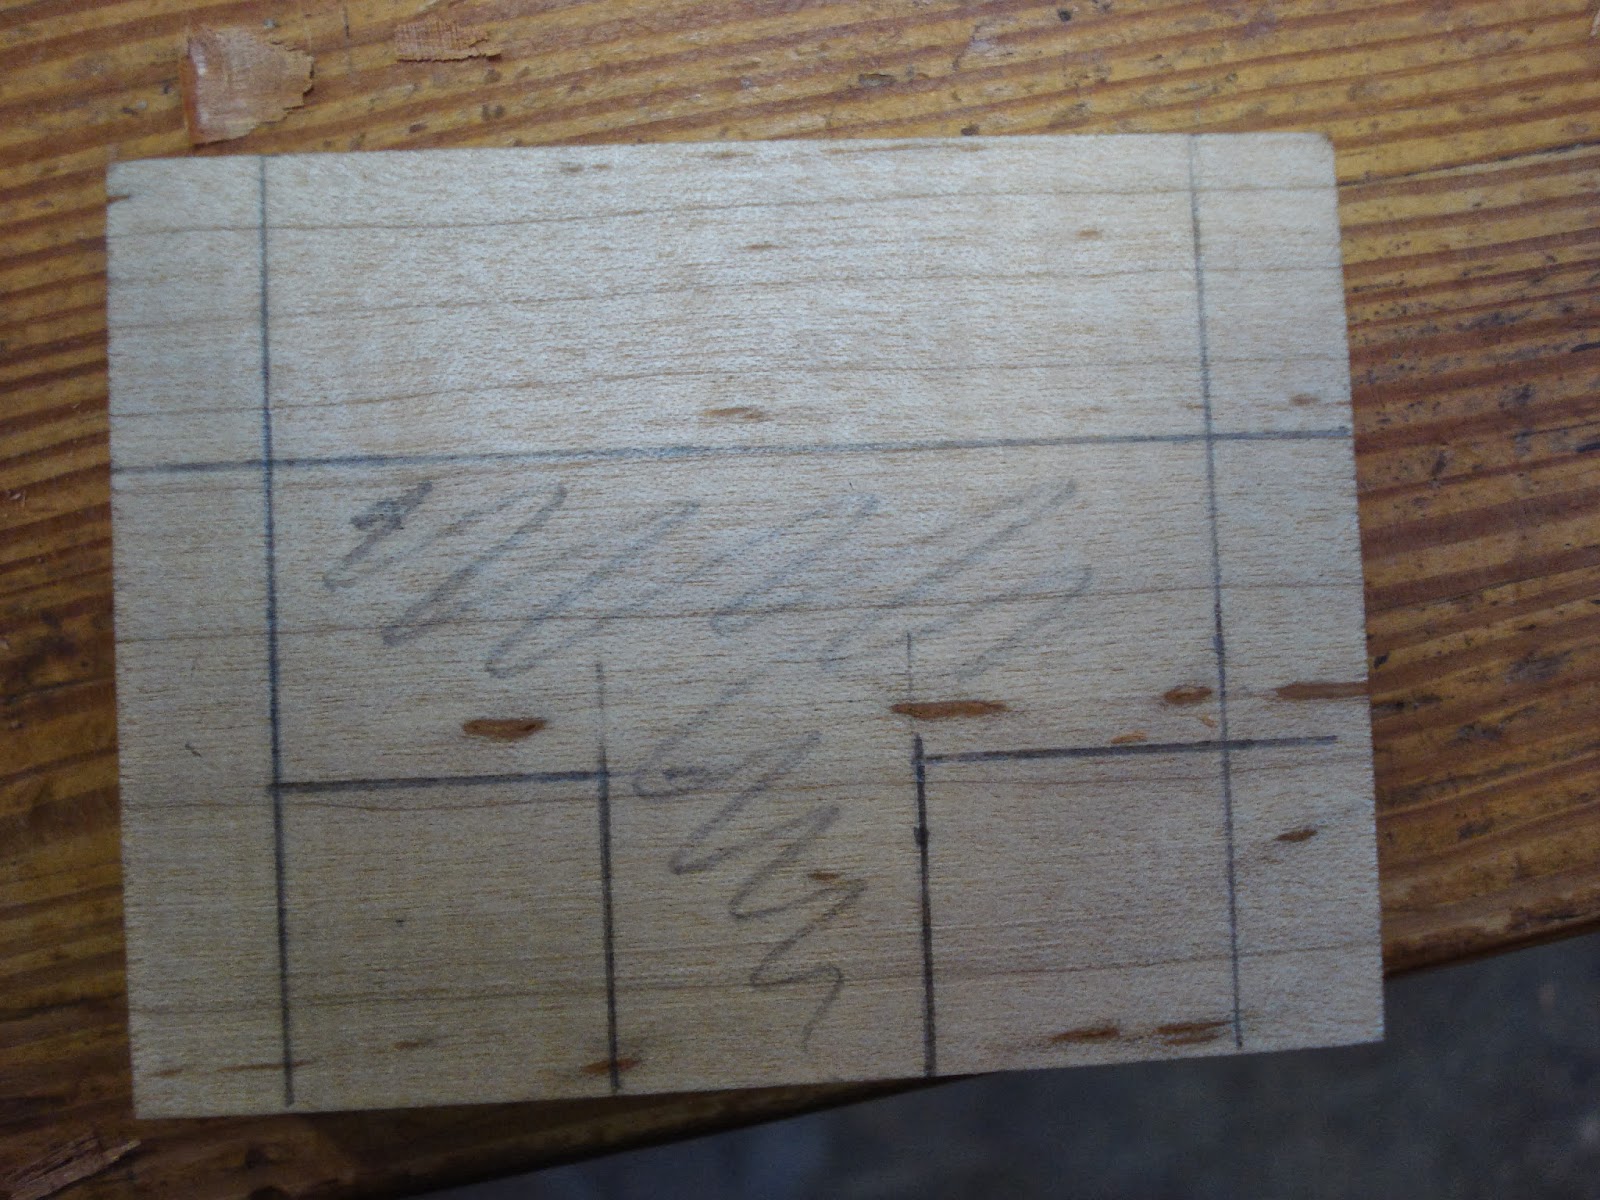
The design was drawn on the cut pieces, two of which were identical.

The third piece simply had a piece carved out, as shown above.
To make all three pieces, the middles were chiseled by hand:

To extract the middle pieces, I chiseled halfway down on one side, flipped it over, then carved down again until the extra could be chiseled through. The edges of the cutout were then cleaned up, and the two identical pieces that had openings, were sawed out.

The sides of the cutouts had to be sanded to ensure the pieces fit together, then the puzzle could be solved:


BUR BOX
While looking for puzzles to make, we came across the design for this burr box:
The website only gives a template for the shape of the six plates in the puzzle, so Heinz calculated the dimensions of each plate.
In order to make the puzzle, we took a piece of poplar and ripped it into two pieces. We then jointed and planed the boards until they were the right size. We ripped them to the correct width, and then crosscut them to make three sets of the plates at the right length.

We used a crosscut fence to make the process easier as well as allowing for each cut could be more precise on each plate.We put a dado blade on the table saw to make the cuts 20 mm thick.


No comments:
Post a Comment